How Do You Make Your Own Earrings for Beginners?
How to make earring charms – a complete guide for beginners is what we will discuss. We will answer that question and more including, do you love jewelry making and handcrafted jewelry? Many people do having fun with it while getting great satisfaction for making their own jewelry. After all, handcrafted pieces are undeniably one-of-a-kind. Handmade earrings are particularly striking here. Even if you do not want them to, everyone notices your earrings. Finding well-made handmade earrings can be a challenge, though. So, why not design yourself a pair of gorgeous DIY earring charms that everyone will notice? This article on DIY earrings and jewelry making includes two extensive lessons on how to make earrings with widely accessible materials such as beads, gems and gemstones so that anyone can become a jewelry maker. If you are a beginner, these DIY earrings are a great way to start if you want to learn how to make earring charms.
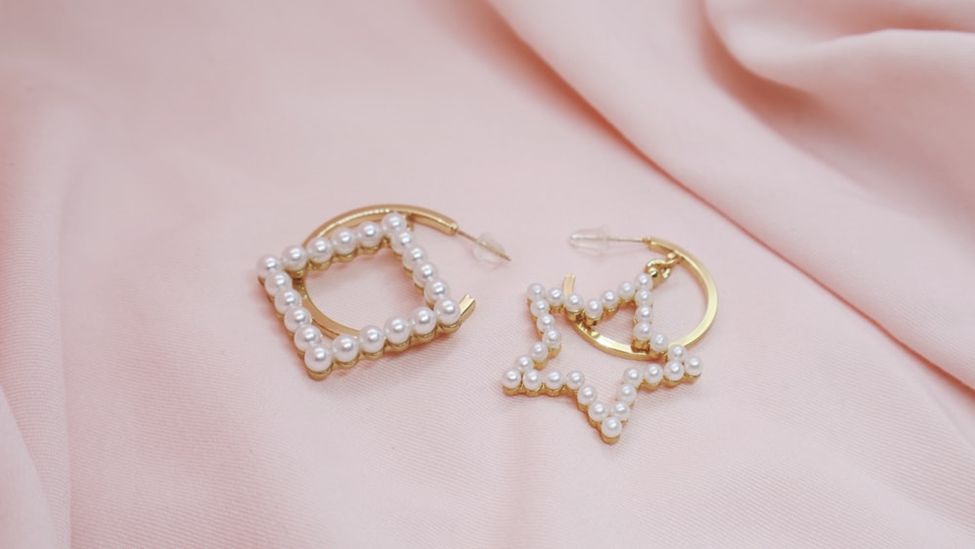
To begin with, let’s be clear about the fact that every person has a different preference when it comes to jewelry making and handmade accessories, especially jewelry pieces. Some people may prefer simple designs, while there would be others that would go for something fancier. However, there is one thing that they all have in common: they all enjoy authentic products that reflect their true selves. We came up with a rather different earring design for our jewelry making that is both simple and rather funky and colorful as well. You can choose a design style that goes with your personality and then begin working on the project.
How to Make Earring Charms – A Complete Guide for Beginners | Step-by-Step
What do you need to make homemade earrings?
That is a great question. DIY earring charms are an easy holiday gift idea or a fun weekend jewelry-making project. All you will need are charms, ear-wire findings, and flat-nose pliers. You can also make a pair of charm earrings with mismatched charms for individuals who prefer to be daring with their jewelry. To open jump rings or ear-wire loops for this simple DIY craft, all you will need are flat nose pliers.
Once you have all these items, here’s what you can do next.
DIY Earring Tutorial 1: The Cutest Sea-Shell Earring Charms
Almost anyone, however, can learn how to make jewelry and become a jewelry maker. Beading, tying knots, and twisting wire is a meditative process that takes time and some skill, as well as a few fundamental techniques. You will also require some specific tools.
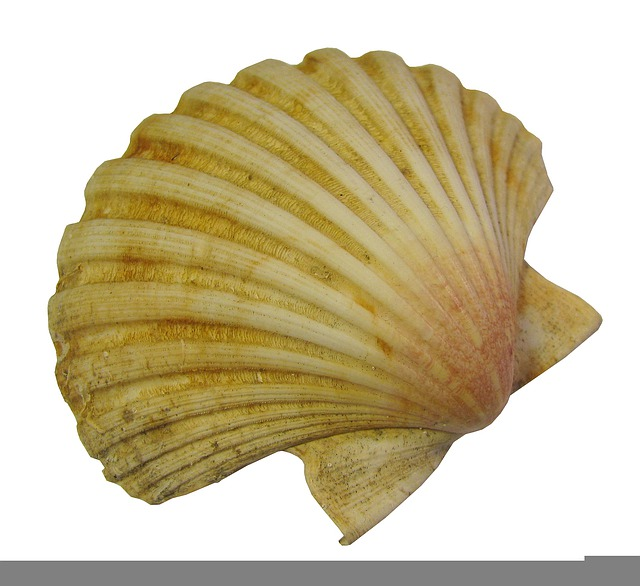
Talking about these particular seashell earrings, like me I know many charm enthusiast has a vast collection of different shells, with the scallop shell being many beach-goers favorite. After sorting out multiple pairs of the same size shells, the first thing that came to my mind was to make earrings with them.
Your beachy, tropical, or ocean-themed clothes will look great with these DIY seashell earrings. They are easy to construct and only require a few components. So, let’s jump into the step-by-step process:
What Do I Need to Start Making Jewelry?
Things that You Need

Getting the right equipment and tools is a mandatory step in learning how to make earring charms. Here’s what you are going to need:
· Sea-Shells of Choice
· Hooks for Earrings
· Pliers
· Beads of Two Different Sizes
· Memory Wire
· Jump Rings
Step 1: Start by Inserting the Wire
We used a couple of scallop-shaped seashells and some other charms for the earrings, but you can use any kind of shell or charm that you like. The seashells we used have small holes in the top ends. You can also get similar ones. You may either buy seashells with holes already drilled in them or drill the holes yourself with a small jewelry drilling machine. Take a three-inch memory wire and thread it through the seashell’s hole. Only an inch of wire should be placed inside, and the remainder should be left outside.
Step 2: Attaching the Headpin & Bead of Choice
We will begin by stacking all of our beads on the headpin we are using in the order that we want them to appear. So, you might use a green bead that you like or prefer. Similarly, you can even replace it with a rhinestone, an evil eye, a heart, or any other charm of your liking.
Step 3: Twisting & Securing the Headpin
Now, using our round nose pliers, we are going to hold the first charm just above that bead, with a little breathing space in between. Next, we are going to take the top piece and wrap the pin away from our body and then back towards our body (in terms of direction). Then you can take the pliers to make a wonderful ninety-degree angle and then start twisting that headpin around itself. You need to be paying close attention to where that coil forms, similar to how an earring headpin is tied off. Next up, we are going to twist two to three times, maybe four times. With a pair of round nose pliers, we can then simply clip the excess wire from the headpin.
Step 4: Thread the Beads & Additional Charms
Choose your beads and thread them through the wire until they reach the shell’s edge. A one-centimeter and a four-millimeter bead are great options if you want the perfect alignment. If you wish to utilize more beads, you will need a longer wire. After the beads have been inserted, push them all the way near the seashell.
Step 5: Making & Closing of the Loop
Use the looping plier to hold the wire in place. At the open end of the wire, make a little loop near the last inserted bead. Coil the remaining wire underneath the loop to secure the beading and the loop. Now, using the flat nose pliers, flatten the coiled wire.
Step 6: Now, Attach the Jump Ring
To make this into an earring charm, we will now need a strong and sturdy jump ring. This way, whether you’re making a chain, a lobster claw, or even a hoop earring, you will be able to swap it out and try it on a range of other jewelry items. So, with the help of a pair of flat or chain pliers, we will gently rotate that jump ring open, put on our sea-shell charm, and then gently close it. Make sure the ends of the jump rings are flush against one another.
This brings us to the end of our first tier of these DIY earring charms that we are making. All of the other additional charms will now be tucked away here. We can now just wrap them around our round nose pliers and twist them shut. Now, we are going to add a jump ring to the end and then use our flat-nose pliers to close them properly.

How to Make Earring Charms – A Complete Guide for Beginners | The Conclusion
We typically modify our outfits as the seasons change. However, there are times when we simply cannot afford to purchase new jewelry to match all our outfits. That is why many people adore jewelry making and designing their own jewelry pieces including beads, earrings, earring charms, and other different types.
Now that you have finished reading this article, we hope that you have a fair idea for how to make earring charms. When you add two or more distinct charms from one ear wire separately, these DIY earring charms provide interest, color, and movement. The design gives you many options that may be tailored in a variety of ways. Because anything with a ring may be hung on an ear wire, the possibilities are endless with this design. Try hoop earrings with charms for a bold style or replacement earring charms to go with any other jewelry ideas. To learn more about jewelry making and beads check out this article as well: https://classroomdiy.com/two-easy-diy-wire-rings-with-beads-ideas-for-girls